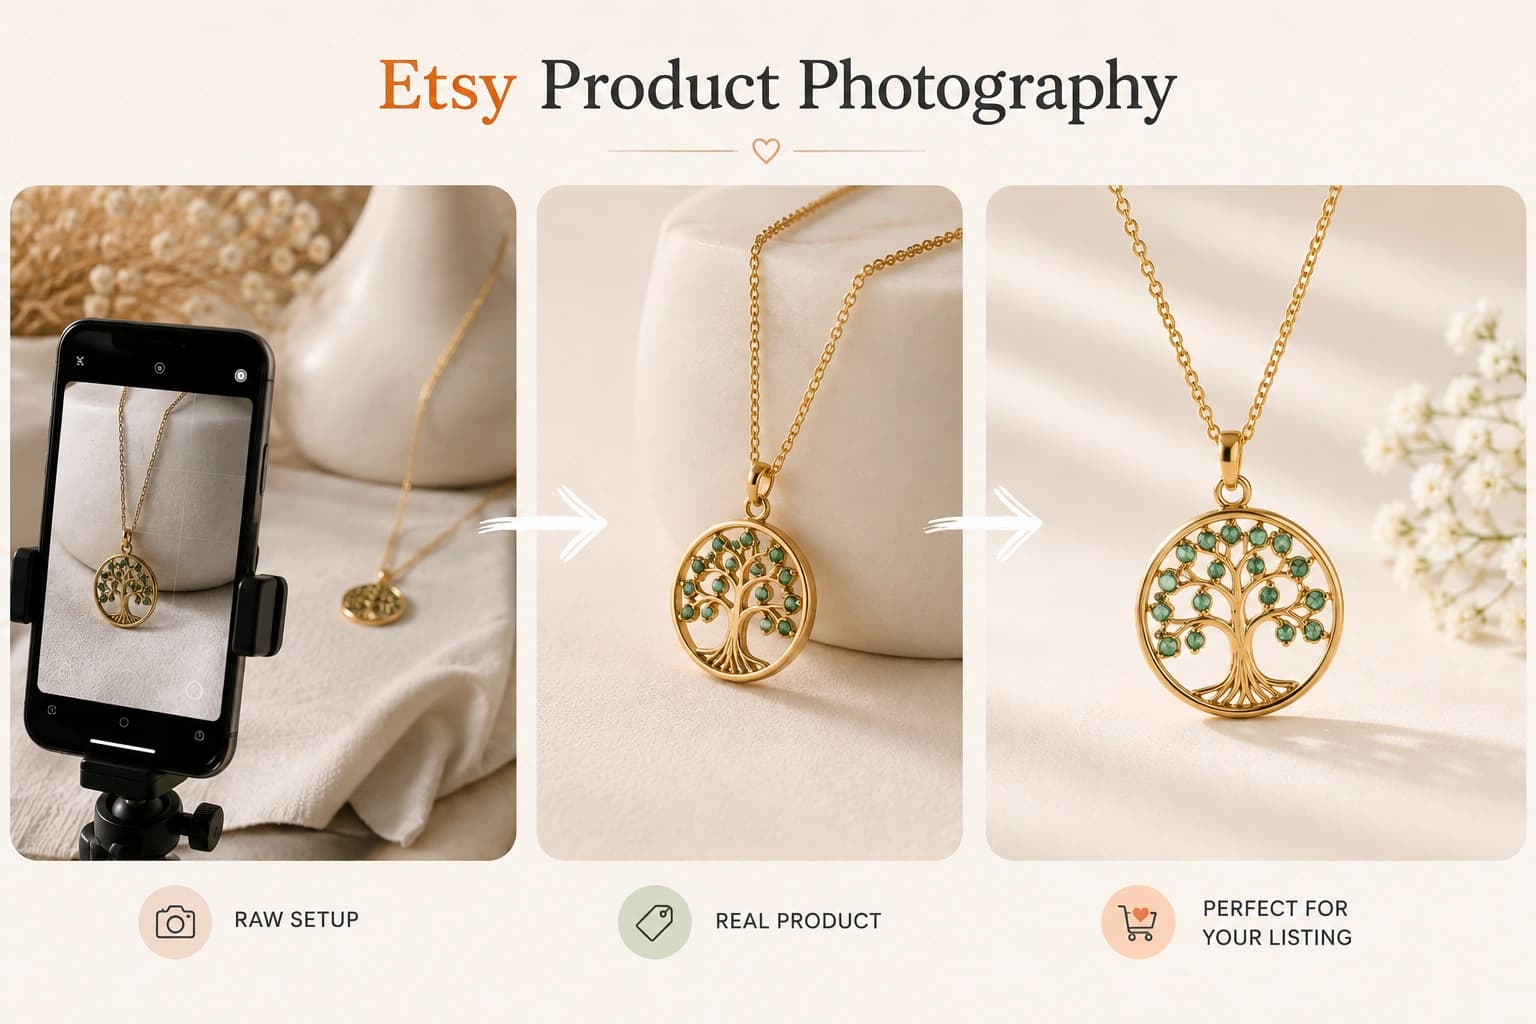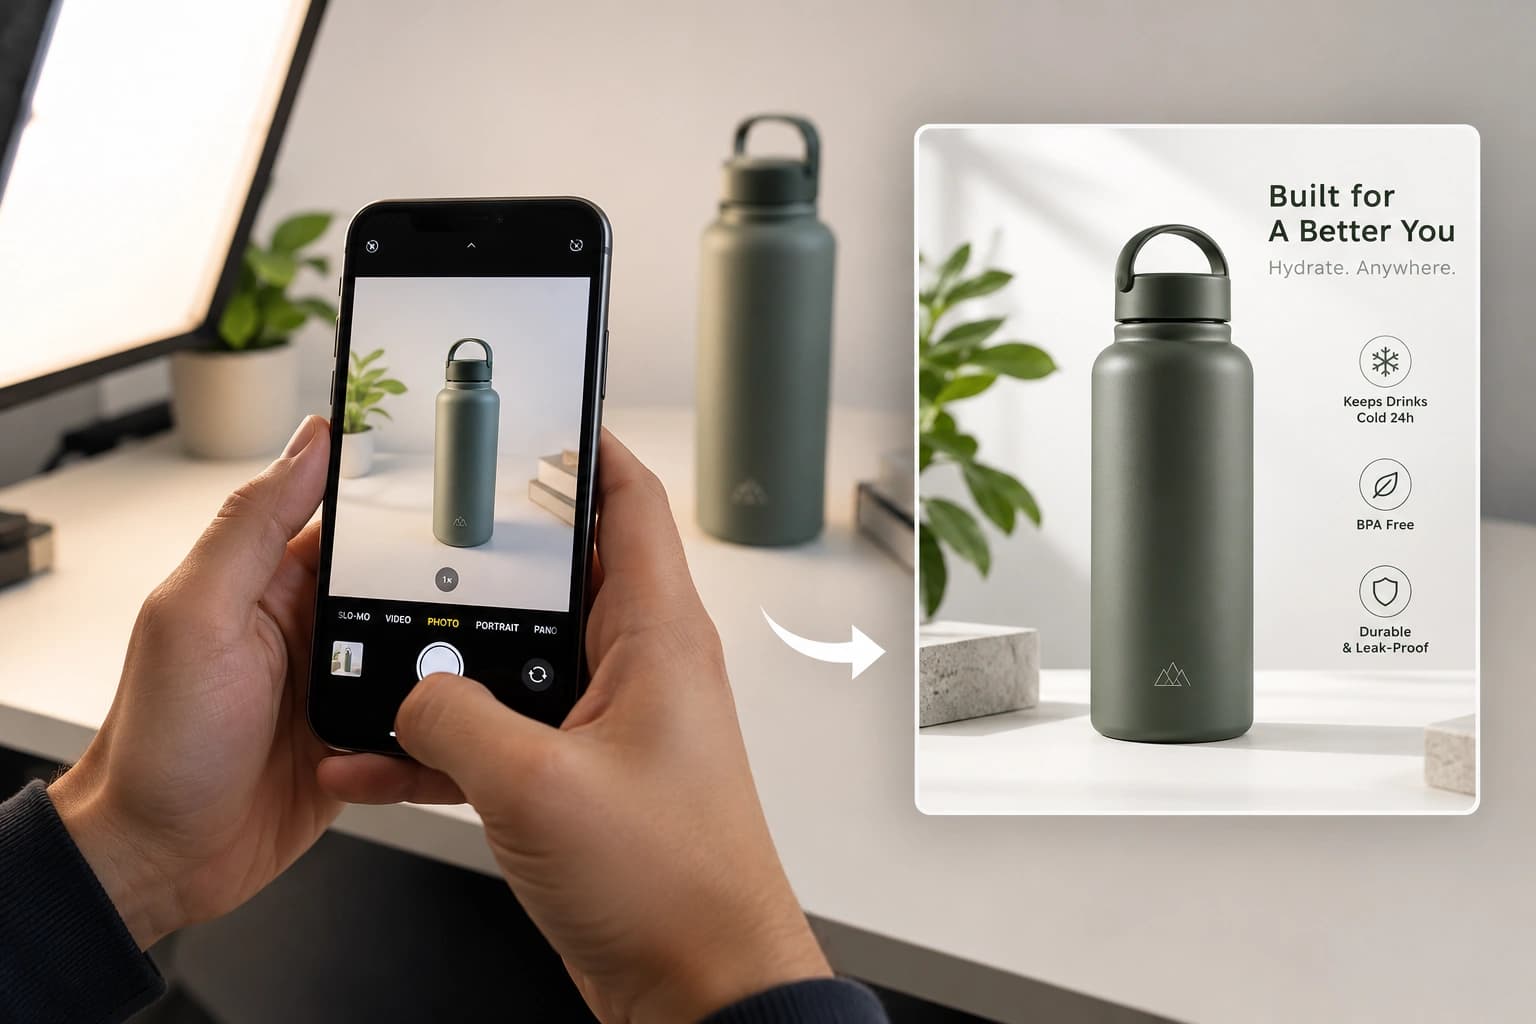
You don’t need a DSLR or a professional studio to start taking product photos.
A good iPhone or Android phone can capture detailed images for ecommerce, social media, marketplaces, and online stores. The bigger challenge is knowing how to use the phone camera properly.
When photographing products, small choices matter: how close you stand, which lens you use, where you tap to focus, how you control exposure, and how you frame the product can all change the final image.
This guide explains how to take product photos with phone using practical techniques you can repeat for different products and product catalogs.
1. Use the Main Camera Instead of the Selfie Camera
Start with your phone’s rear-facing main camera.
Recent iPhones and Android phones have capable main cameras that can produce enough resolution and detail for many ecommerce applications. You don’t need the most expensive phone available; what matters more is using the camera correctly.
Clean the lens before every shoot. Fingerprints and dust can reduce clarity and contrast, particularly when photographing reflective products.
Also check which camera lens you’re actually using. Many phones automatically switch between lenses depending on distance and lighting, so look at the preview before shooting.
If your phone has a dedicated telephoto lens, it can be useful for products where you want a more natural perspective without physically moving extremely close.
2. Don’t Photograph Products From Extremely Close
One of the most overlooked phone photography problems is perspective distortion.
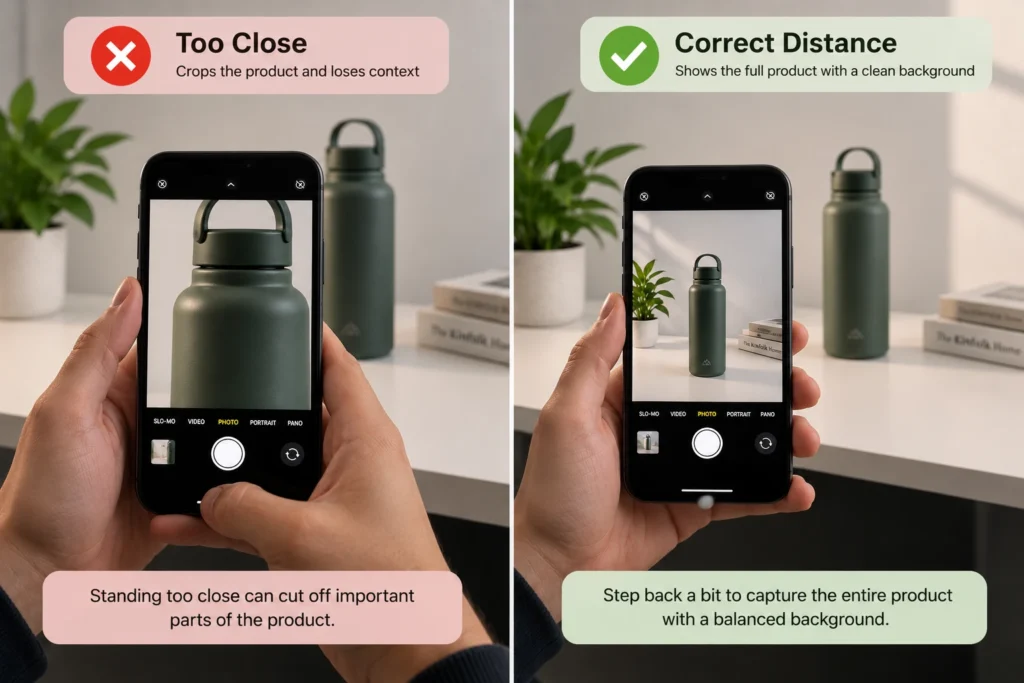
When you hold a phone very close to a product, the parts closest to the camera can appear disproportionately large. Packaging may look distorted, jewelry pieces may seem stretched, and the overall shape can become less representative of the real product.
Instead, step back and use an appropriate lens or crop afterward.
This is particularly useful for products with straight edges, such as bottles, boxes, electronics, shoes, and cosmetics packaging.
The objective is not simply to make the product fill the frame. It is to make the product look natural and accurate.
3. Tap the Product to Set Focus
Phone cameras automatically decide where to focus, but they don’t always choose correctly.
Before taking the photograph, tap the most important part of the product on your screen. This is particularly important for small products or objects photographed close to the camera.
On iPhone, you can manually adjust focus and exposure, and supported models can lock these settings using AE/AF Lock.
Use this when photographing details such as:
- Jewelry stones or metalwork
- Cosmetic labels
- Clothing texture
- Product logos
- Packaging details
- Small accessories
Take a test image and zoom in on it before continuing with the rest of your products.
A photograph can look sharp on your phone’s preview but reveal softness when viewed larger on an ecommerce site.
4. Control Exposure Instead of Trusting Automatic Brightness
Your phone will normally choose exposure automatically, but products can confuse the camera.
A white bottle against a light background may become too bright. A black product may come out gray or lose detail. Reflective metal can create bright highlights that distract from the product itself.
After tapping your subject, adjust exposure slightly when necessary.
On iPhone, Apple provides controls for manually adjusting exposure and locking exposure for subsequent images.
Don’t aim for the brightest possible image. Aim for an image where important product details remain visible.
5. Choose the Right Angle for the Product
Your shooting angle should communicate the product clearly.
A straight-on view is useful for products with important front-facing labels or graphics. A three-quarter angle can show depth and shape. A top-down view works for certain flat products and arranged collections.
Before pressing the shutter, ask:
What does the customer need to see?
For a perfume bottle, the label and silhouette may be the priority.
For a handbag, the shape, handles, and depth may matter more.
For jewelry, the overall design and fine details need to be visible.
Instead of taking random photographs from different positions, choose angles based on what information each image needs to communicate.
6. Keep Your Product Color Accurate
One of the biggest responsibilities of product photography is representing the actual item.
A red garment shouldn’t look orange. A silver piece shouldn’t look yellow. A neutral cosmetic bottle shouldn’t have a strong blue or green color cast.
Try to photograph under consistent lighting and avoid combining different light sources with noticeably different color temperatures.
Then compare the image with the physical product before publishing it.
Be careful with filters and aggressive editing. Making a photo more dramatic isn’t worth changing the product’s appearance.
For ecommerce, accuracy matters because the image should represent the product that the customer will actually receive. Google also requires product images to accurately display the advertised product.
7. Use Your Phone’s Grid for Better Composition
Turn on grid lines if your phone provides them.
The grid helps you keep products straight and maintain consistent positioning across a catalog. It is especially useful when photographing bottles, boxes, clothing, accessories, and products with obvious horizontal or vertical edges.
Try to establish one standard position for your main product photographs.
For example, you might decide that:
The product is centered.
The camera stays at the same height.
The product occupies roughly the same amount of the frame.
The label faces directly toward the camera.
Consistency makes a product catalog look much more professional.
Google currently recommends that product images supplied for Merchant Center be high quality, and recommends around 1,500 × 1,500 pixels or above for best performance across listing formats. Google also recommends that the product generally occupy 75%–90% of the image area.
8. Take Detail Shots Separately
Don’t force your main product photograph to show every detail.
Take a separate close-up when there is something shoppers may want to inspect.
For example:
A jewelry brand can show stone setting and engraving details.
A clothing brand can show stitching, fabric texture, or print quality.
A cosmetics brand can show the applicator, cap, texture, or packaging details.
These additional photographs can answer questions that the hero image cannot.
Think of your product image set as a visual product description: each photograph should add information instead of repeating the same view.
9. Shoot the Source Photo First, Then Create More Content
Here’s an important distinction for modern ecommerce photography:
Taking the source photograph and creating the final marketing image don’t have to be the same step.
Your phone can do an excellent job of capturing the actual product. But a growing brand may eventually need much more than a straightforward product photograph.
You may need:
- A different background
- A lifestyle environment
- A premium editorial image
- An on-model jewelry photograph
- Clothing presented in a more polished fashion setting
- Cosmetics shown in a styled environment
- Multiple creative variations for advertisements
Creating all of these physically can mean arranging models, locations, props, lighting, and separate photoshoots.
This is where Monoshoot can fit naturally into the workflow.
From Phone Photo to Professional Product Visuals With Monoshoot
Instead of treating your phone photograph as the finished image, treat it as the accurate source image.
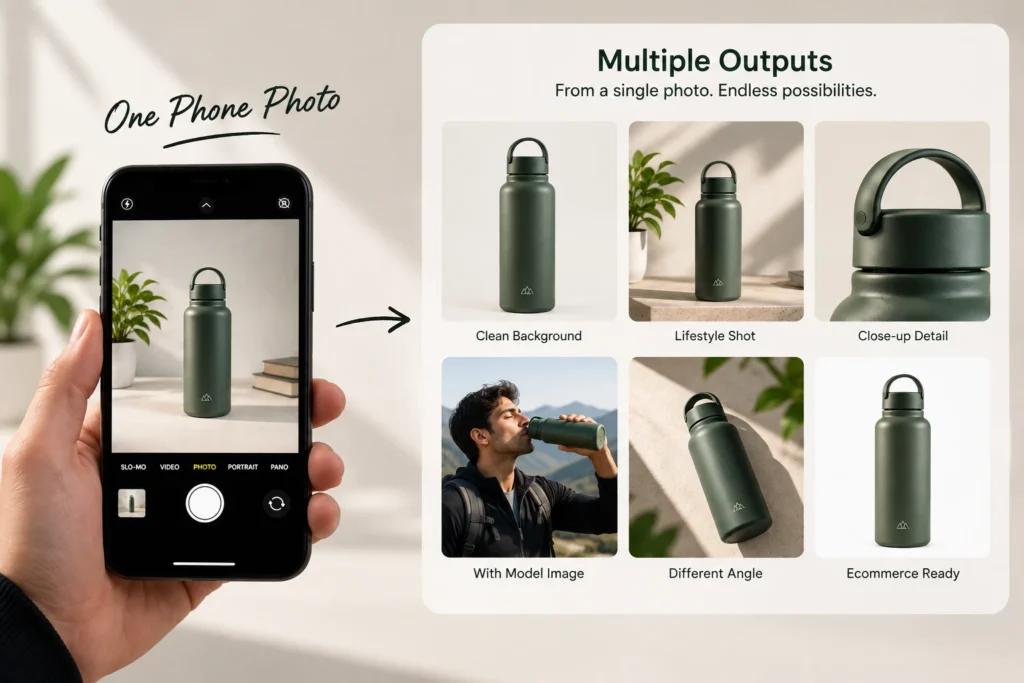
Upload that product photo to Monoshoot and use it to create additional studio-style product visuals without organizing a completely new photoshoot for every variation.
Monoshoot is designed around product-focused workflows for Jewellery & Accessories, Clothing & Fashion, and Cosmetics & Wellness, making it possible to create different visual presentations based on the type of product you’re selling.
The idea is simple:
Capture the real product with your phone → upload it to Monoshoot → choose the visual direction → create polished product imagery.
This can be particularly useful for small ecommerce teams that need more content but don’t have the budget or time for repeated professional shoots.
The quality of the source image still matters. A clear, sharp, accurately photographed product gives you a much stronger starting point.
What Phone Camera Settings Should You Use?
You don’t need complicated manual settings for most product photography.
Start with:
Main rear camera: Use the best standard camera available.
Highest practical resolution: Keep enough detail for cropping and ecommerce use.
Flash: Avoid automatic flash when possible; it can create harsh reflections and unnatural highlights.
Digital zoom: Avoid heavy digital zoom and move back or use an optical lens instead.
Focus: Tap the product before shooting.
Exposure: Adjust when the product is too bright or too dark.
Timer: Use a timer when the phone is mounted, so tapping the screen doesn’t introduce movement.
The exact controls differ between phone models, so learn where focus, exposure, lens selection, and grid settings are located on your specific device.
Final Product Photo Checklist
Before uploading a phone product photo to your store, check:
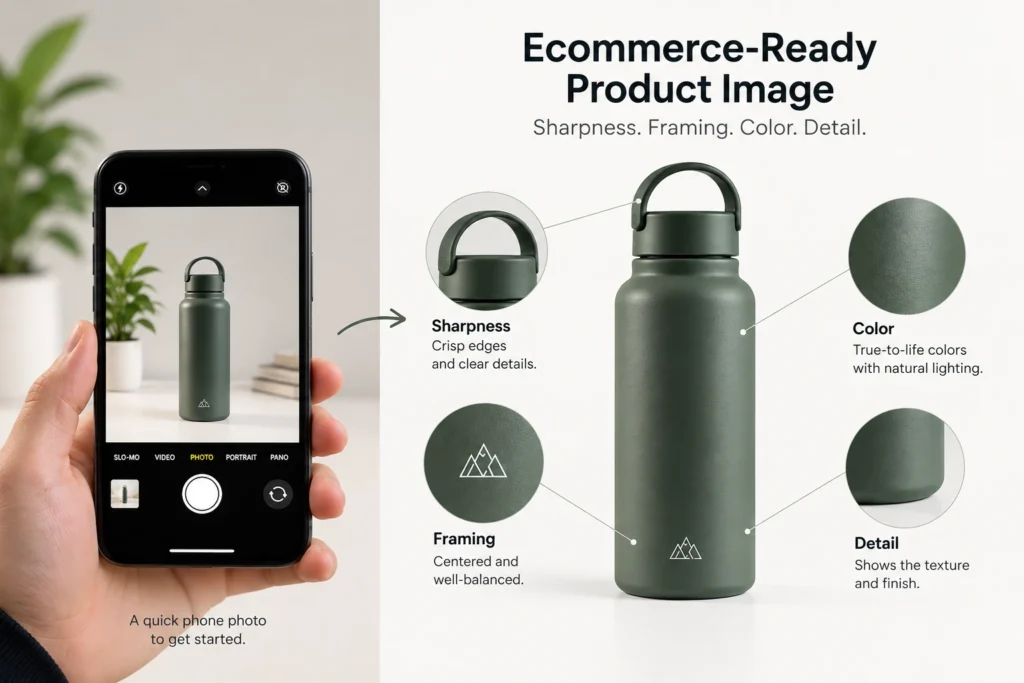
Is the product sharp?
Does it look like the real product?
Are the important details visible?
Is the perspective natural?
Is the color accurate?
Is the framing consistent?
Is the image large enough for the platform you’re using?
Google recommends high-quality product images and currently advises providing images around 1,500 × 1,500 pixels or larger where possible for strong performance across listing formats.
Final Thoughts
Learning how to take product photos with phone is less about having the latest smartphone and more about understanding how your camera behaves.
Keep your lens clean, avoid getting extremely close, choose the right camera lens, lock focus when needed, control exposure, check color, and photograph useful details instead of taking a collection of nearly identical images.
Most importantly, think of your phone photograph as the starting point, not necessarily the final piece of content.
Once you have a clean and accurate source image, Monoshoot can help you turn that single photograph into additional professional-looking visuals for your ecommerce store, advertisements, social media, and product marketing.
That combination gives small brands a practical workflow: capture the product yourself, then scale the visual content without having to organize a complete photoshoot every time.