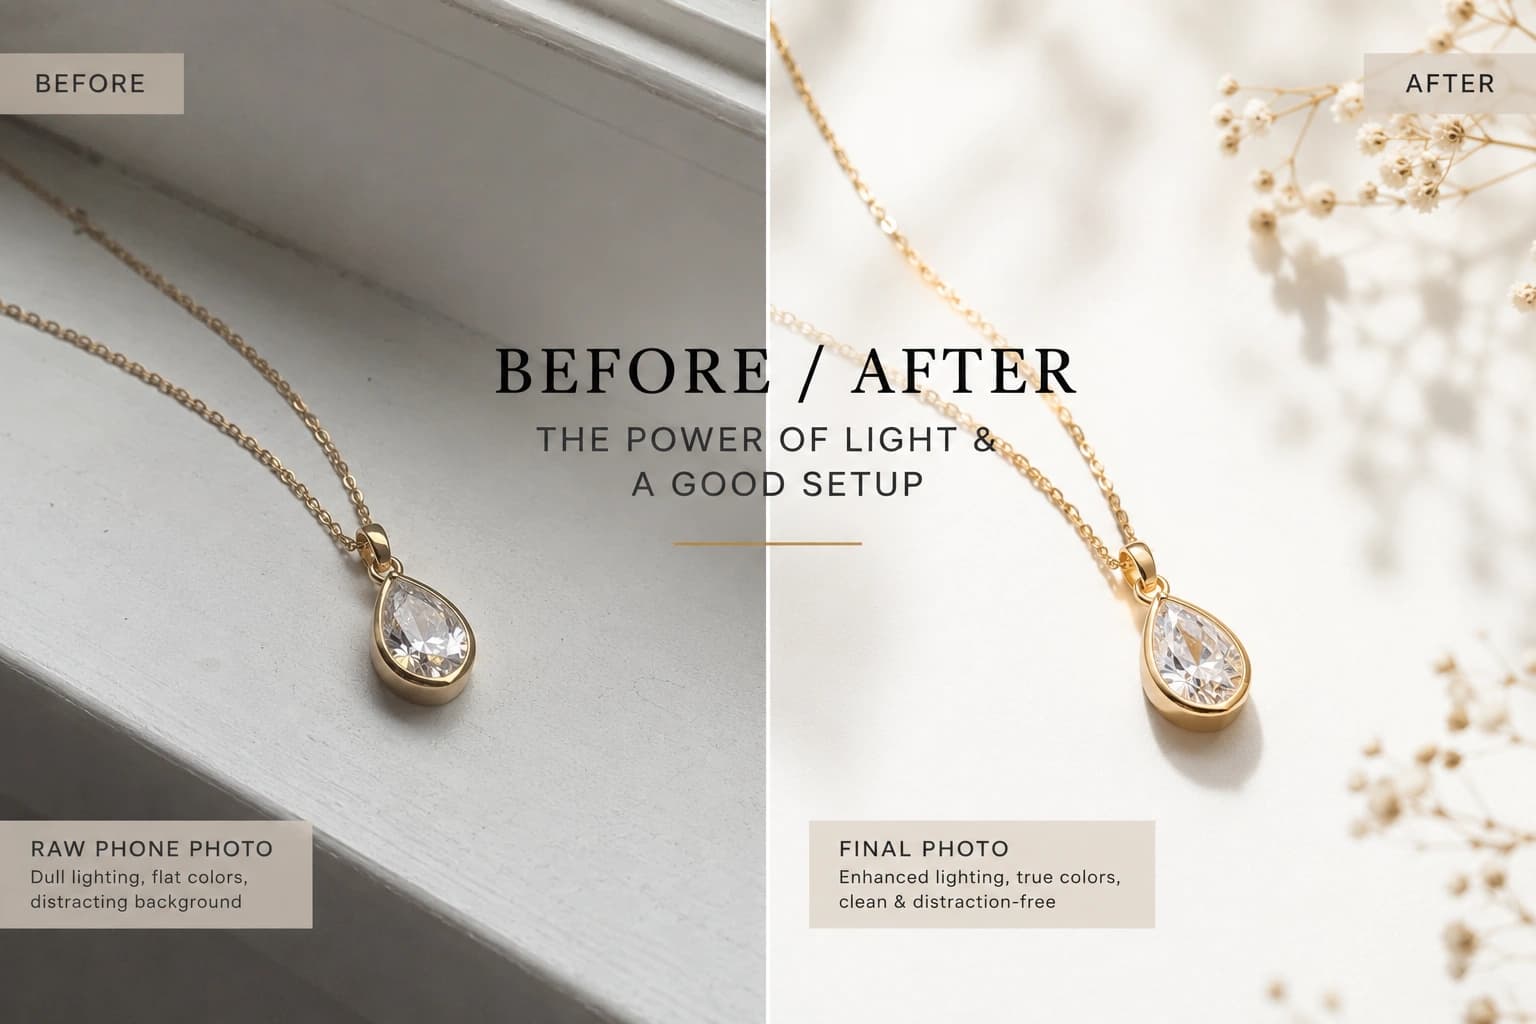
If you sell jewelry online, you’ve probably been told you need a lightbox before your photos will look “real.” You don’t. You can photograph jewelry on your phone with nothing more than a window, a sheet of paper, and a steady hand, and get listing photos that look just as clean as anything shot in a box. Lightboxes are a tool, not a requirement. What actually matters for jewelry is light quality, a stable shot, and a few settings most sellers never touch.
This guide walks through a no-lightbox setup you can build in ten minutes with things you already own, the camera settings that make the biggest difference on small reflective objects, and the mistakes that make phone jewelry photos look amateur even when the lighting is decent.
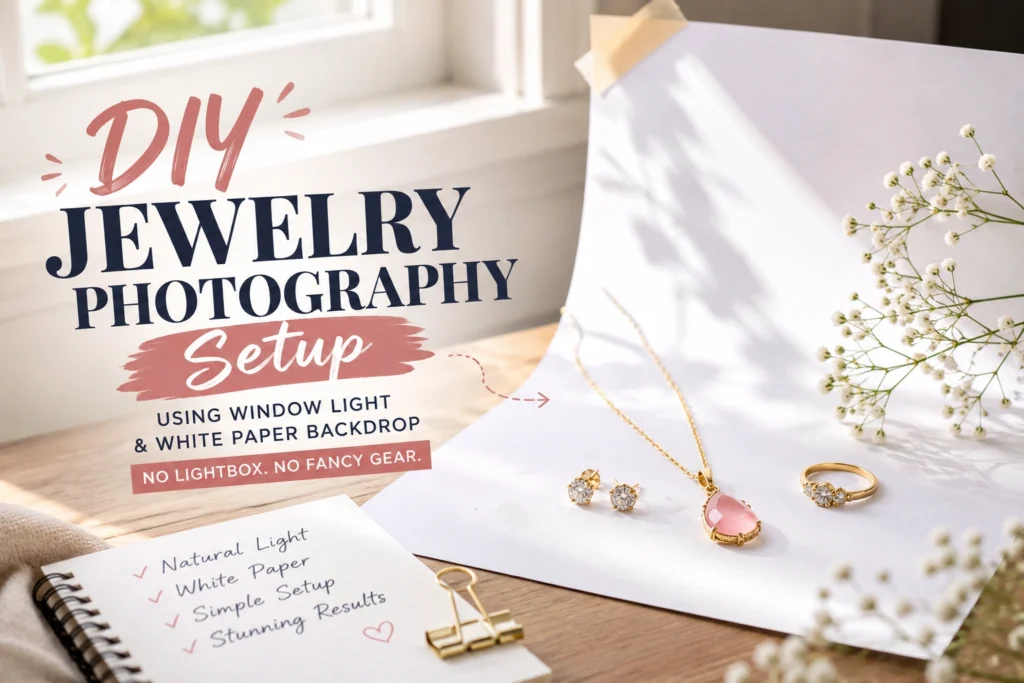
Why You Don’t Actually Need a Lightbox for Jewelry
A lightbox does one job: it diffuses light evenly from multiple sides so you don’t get harsh shadows. That’s useful for bulky matte objects. It’s less useful for jewelry, which is small, highly reflective, and full of tiny facets and edges that a box’s interior walls can actually bounce back as distracting reflections in a ring’s surface or a pendant’s polish.
A single window with soft, indirect daylight does the same diffusing job a lightbox does, and it’s free. You’re not missing equipment. You’re missing a five-minute setup, which is the rest of this guide.
What You Need to Photograph Jewelry on Your Phone
Before you set anything up, gather this. All of it is either free or under $10:
- A window with indirect light. North-facing windows or anywhere that gets bright, bounced daylight rather than direct sun.
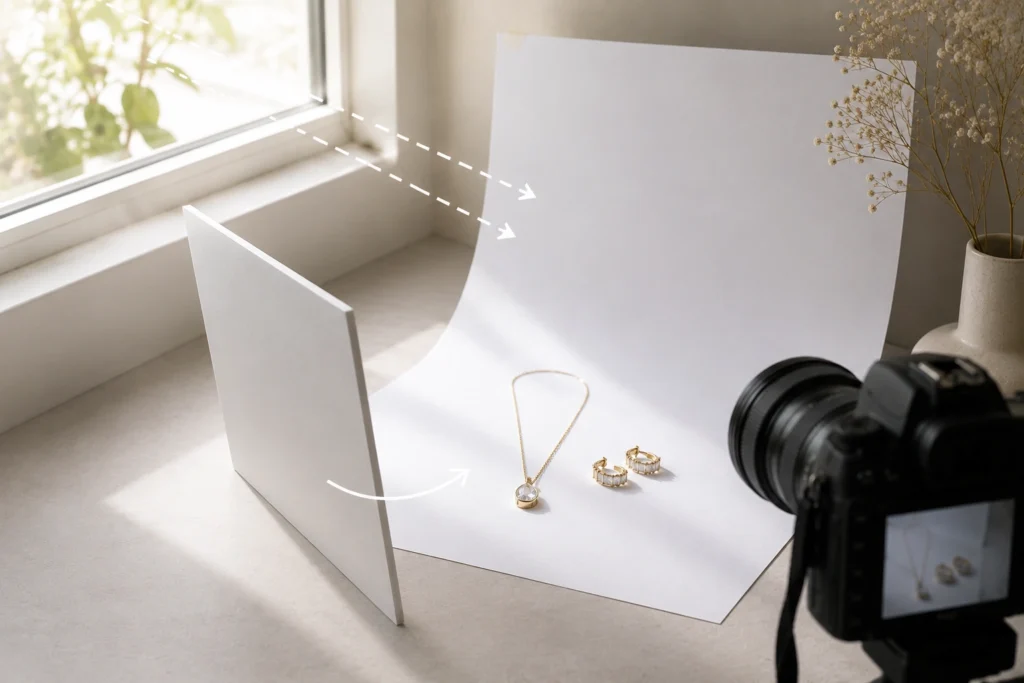
- A sheet of white paper, poster board, or fabric for your backdrop. Curve it into a gentle “sweep” so there’s no visible horizon line where the table meets the wall.
- A second piece of white card or foam board to use as a reflector, propped opposite your light source to bounce light back into shadows.
- Something to prop pieces up. A small block of museum putty, a pencil eraser, or a dedicated ring riser works for rings. A small foam neck form or even a glass jar works for necklaces.
- A tripod, a stack of books, or anything that holds your phone still. This matters more than people think, which we’ll get to in the camera settings section.
- A small square of black velvet or dark fabric, optional, for photographing diamonds or clear stones where a white background can wash out the stone’s sparkle.
Step-by-Step: Building Your No-Lightbox Setup
1. Position yourself near a window, not in front of it. You want the light falling onto your jewelry from the side or at an angle, not behind your subject. Shooting with the window directly behind the piece will silhouette it.
2. Build your sweep. Tape or clamp your white paper so it curves from your table surface up into a backdrop, with no hard crease. This is what gives product photos that seamless, studio-style look instead of an obvious “tabletop” feel.
3. Set up your reflector. Place your second white card on the opposite side of the piece from your light source, angled to bounce light back in. On reflective metal, this single step does more to even out shadows than any other part of the setup.
4. Prop your piece at a natural angle. Don’t lay jewelry completely flat. Rings need a slight tilt so the stone catches light the way it would on a hand. Earrings should be matched and aligned. Necklaces should be draped with a natural curve, not stretched in a straight line.
5. Take a test shot and check for hotspots. Move your reflector or your phone’s angle until you don’t see a blown-out white reflection sitting directly on the metal or stone.
Camera Settings That Actually Matter for Jewelry
This is the part most phone jewelry photography tips skip, and it’s where most of the quality difference actually comes from.
- Turn off your flash. Always. Flash creates a hard, localized hotspot directly on metal and stones that’s almost impossible to edit out later.
- Use macro mode if your phone has it. Most phones released in the last few years switch to macro automatically when you get close to a subject. If yours doesn’t, use 2x optical zoom rather than getting closer than your camera can focus, since pushing past your phone’s minimum focus distance just produces a soft, blurry shot.
- Avoid digital zoom past 2-3x. Past your phone’s optical range, zoom is just cropping and upscaling, and it shows immediately on fine jewelry details like prong settings and engraving.
- Tap to focus directly on the detail that matters, usually the stone or an engraved area, then press and hold to lock focus and exposure. Locking this stops the camera from “hunting” and shifting exposure as light reflects off metal while you’re trying to frame the shot.
- Turn on gridlines in your camera settings and use them to keep paired pieces like earrings level and symmetrical.
- Check your white balance. Indoor bulbs cast a yellow tint that makes white gold and silver look warmer than they are, which is a real problem when a buyer receives a piece that doesn’t match the listing photo. Daylight near a window mostly avoids this; if you’re shooting under indoor lighting, set white balance manually rather than trusting auto.
- Use a timer or remote shutter instead of tapping the screen. Tapping the phone to take the photo introduces just enough shake to soften a macro shot of something this small.
Backgrounds and Angles by Jewelry Type
Different jewelry categories need different staging, and this is where a lot of phone jewelry photography tips stop being useful because they’re written for products in general, not jewelry specifically.
Rings: Shoot at a 3/4 angle on a low riser so the stone and setting are visible, then take a second shot from directly above. Buyers comparison-shopping rings want both views.
Necklaces and pendants: Drape the chain so it falls naturally rather than laying it in a stretched line. Include one wide shot showing full length and one close-up on the pendant or clasp, since clasp type is a common buyer question.
Earrings: Photograph the pair together for symmetry, then include one close-up showing the post or backing style. This single detail shot answers a question that otherwise generates a lot of pre-purchase messages.
Bracelets: Coil delicate chain bracelets, or drape stiffer cuffs and bangles over a small form. If you can get one shot on an actual wrist for scale, it consistently improves buyer confidence on sizing.
Common Mistakes That Make Phone Jewelry Photos Look Unprofessional
- Yellow or warm color cast. Almost always caused by shooting under indoor bulbs instead of daylight. Fix it by moving near a window or correcting white balance manually.
- Blown-out reflections on metal. Usually from flash or direct sunlight. Diffused, indirect light solves this every time.
- Soft, blurry macro shots. Almost always camera shake from a handheld shot. A tripod or stable surface fixes this instantly.
- Busy or distracting backgrounds. Clutter pulls attention away from a small object. Keep it to one clean, solid backdrop per listing.
- No size reference. Jewelry photos with nothing to indicate scale lead to sizing complaints and returns. Include at least one shot with a coin, ruler, or the piece worn.
Editing Your Jewelry Photos for a Polished, Studio Look
Even a well-lit phone shot usually needs a bit of cleanup before it’s listing-ready: cropping to a consistent ratio across your catalog, straightening the horizon, correcting any remaining color cast, and cleaning up the background so every photo in your shop looks like it belongs to the same set.
Your phone’s built-in editor or a free app like Lightroom Mobile handles basic adjustments fine for a single photo. Where it gets slow is doing that same correction consistently across a full catalog of fifteen, fifty, or two hundred listings, especially when you add a new piece every week.
This is also where you want to be careful with generic AI photo tools. A lot of them are built to “enhance” or reimagine an image, which on jewelry specifically can shift a gemstone’s actual color, soften prong detail, or smooth over an engraving that’s supposed to be sharp. For jewelry, you want a tool built around preserving the piece exactly as it is and just fixing the lighting, background, and consistency around it. That’s the specific problem Monoshoot was built to solve for jewelry and accessories sellers: studio-quality results from your existing phone photos, without the AI inventing details that aren’t actually on the piece.
Frequently Asked Questions
Can I photograph jewelry without a lightbox?
Yes. A lightbox just diffuses light evenly, which a window and a sheet of white paper can do just as well for small, reflective items like jewelry. What matters more is light direction, a stable shot, and the right camera settings.
What’s the best lighting for jewelry photography at home?
Soft, indirect daylight from a window is the most reliable option. Avoid direct sunlight, which creates harsh shadows and blown-out reflections on metal, and avoid flash entirely.
Do I need a DSLR to sell jewelry online?
No. Modern phone cameras, used with macro mode, a tripod, and good lighting, are sharp enough for product listings on Etsy, Shopify, and similar platforms. A DSLR can help at a professional scale, but it isn’t a requirement to get started.
Why do my jewelry photos look yellow or warm?
This is almost always caused by indoor incandescent or warm LED bulbs. Shooting near natural window light, or manually setting your phone’s white balance, fixes it.
What background works best for jewelry product photos?
A plain white backdrop works for most pieces and matches typical marketplace expectations. Black or dark fabric can work better for clear stones like diamonds, where a white background can wash out sparkle and detail.
How do I make phone jewelry photos look like professional studio shots?
Start with good light direction and a stable, in-focus shot, then clean up color, cropping, and background consistency in editing. For sellers managing a larger catalog, an AI tool built specifically to preserve product detail, like Monoshoot, can apply that same studio-consistent finish across every listing without reshooting.
Final Thoughts
You don’t need a lightbox, a studio, or a professional camera to photograph jewelry on your phone well. You need consistent, diffused light, a stable shot, the right camera settings for small reflective objects, and staging that matches the piece you’re shooting. Build the setup once, and you can shoot every new piece you add to your shop in minutes.
If you’re shooting consistently but still want that final studio-polished, consistent look across your whole catalog, that’s exactly the gap Monoshoot fills, turning your existing phone photos into studio-quality images without altering a single detail of the piece itself.