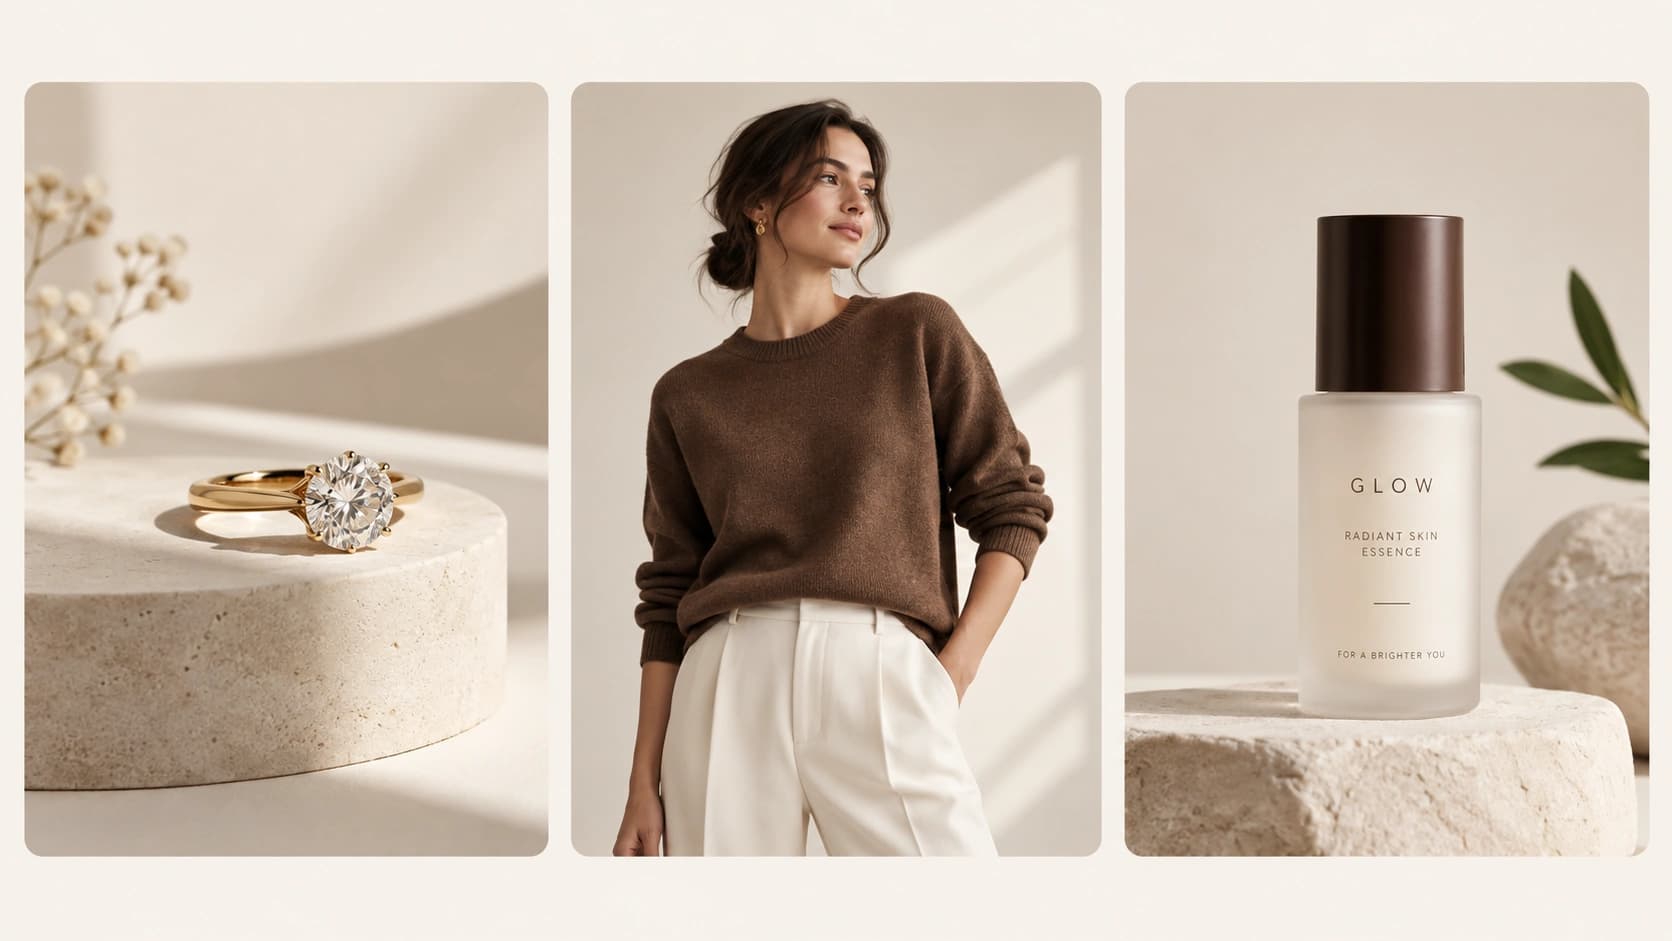
Hiring a model is the most expensive line item in fashion photography. A single half-day shoot with a professional model, photographer, and location can cost more than most small clothing brands spend on production in a month. But knowing how to photograph clothes without a model is not just about cutting costs – it is about having a workflow that lets you photograph every new piece you add to your shop, on your own schedule, without booking anything. Whether you sell on Etsy, Shopify, or both, these are the four methods that actually produce listing-quality results without a person in the frame.
Each method has a different strength, a different skill requirement, and works better for certain garment types than others. This guide covers all four in full detail, then tells you which one to use depending on what you are selling.
Why Selling Clothes Without Model Photos Is More Common Than You Think
The assumption in fashion e-commerce is that on-model photos always outperform off-model photos. That is true at the category level, but it misses the reality of how most successful small brands actually operate. Shoppers on Etsy specifically are often buying handmade or one-of-a-kind pieces where the item itself – its texture, construction, print, and detailing – is the reason for the purchase, not the lifestyle aspiration of seeing it worn. Clean, detailed off-model photography serves that buyer extremely well.
For Shopify stores, off-model photography works best as a consistent product catalog standard, with on-model lifestyle content reserved for social and campaign use. Many eight-figure clothing brands operate exactly this way: consistent off-model imagery in the product catalog, model content on Instagram. The two serve different jobs.
The four methods below cover the full range, from the simplest setup you can do in five minutes to a technique that produces results indistinguishable from a professional studio.
The 4 Best Ways to Photograph Clothes Without a Model
Method 1: Flat Lay Photography
Flat lay is the most accessible method for clothing photography without a model and the most common starting point for new sellers. The garment is laid flat on a surface – usually a white or neutral background – and photographed from directly overhead.
How to set it up: Lay your garment on a clean, flat surface with no creases. Steam or iron it first – every wrinkle is visible from directly above. Fold or tuck any parts of the garment that will not photograph well from overhead (back panels, excess fabric at the shoulders). Add accessories or props sparingly if they are relevant to the listing. Position your phone directly above the garment using either an overhead tripod arm, a DIY rig made from a clamp and a bookshelf, or by standing on a stable step stool and using a timer.
Lighting for flat lays: Soft, diffused window light from the side is better than overhead lighting for flat lay clothes photography. Overhead light from a ceiling fixture creates a hot spot directly in the center of the frame. Position your flat lay surface at right angles to a window, not directly below a light, and use a white reflector card on the opposite side to fill in any shadows.

What it works best for: T-shirts, sweatshirts, shorts, swimwear, scarves, hats, socks, and accessories. Any garment that reads well from above and does not rely on its three-dimensional shape to communicate fit.
Limitations: Flat lay photography does not show how a garment hangs, drapes, or fits. Structured pieces – blazers, dresses, coats – lose most of their design context when laid flat because the construction that makes them special is only visible in three dimensions.
Method 2: Hanger Photography
Hanger photography suspends the garment on a hanger against a clean background, photographed straight-on. It is fast, requires almost no setup, and handles more garment types than flat lay because it allows the piece to hang naturally.
How to set it up: Use a slim, matching hanger – wooden or white slim hangers photograph significantly better than wire hangers or thick plastic. Hang the garment against a white wall or a paper sweep at roughly eye level. Steam before hanging, since hanging a wrinkled garment just makes the wrinkles hang instead of lying flat. Use a hook, nail, or clothing rack positioned close to your light source. Keep the hanger itself in frame rather than cropping it out – buyers find hanger shots more natural to look at than floating garments with the hanger removed.
Lighting: Position your hanger so window light falls from the side at roughly 45 degrees. This creates gentle dimension across the garment fabric without hard shadows. Use a reflector on the opposite side for darker fabrics that absorb light heavily.
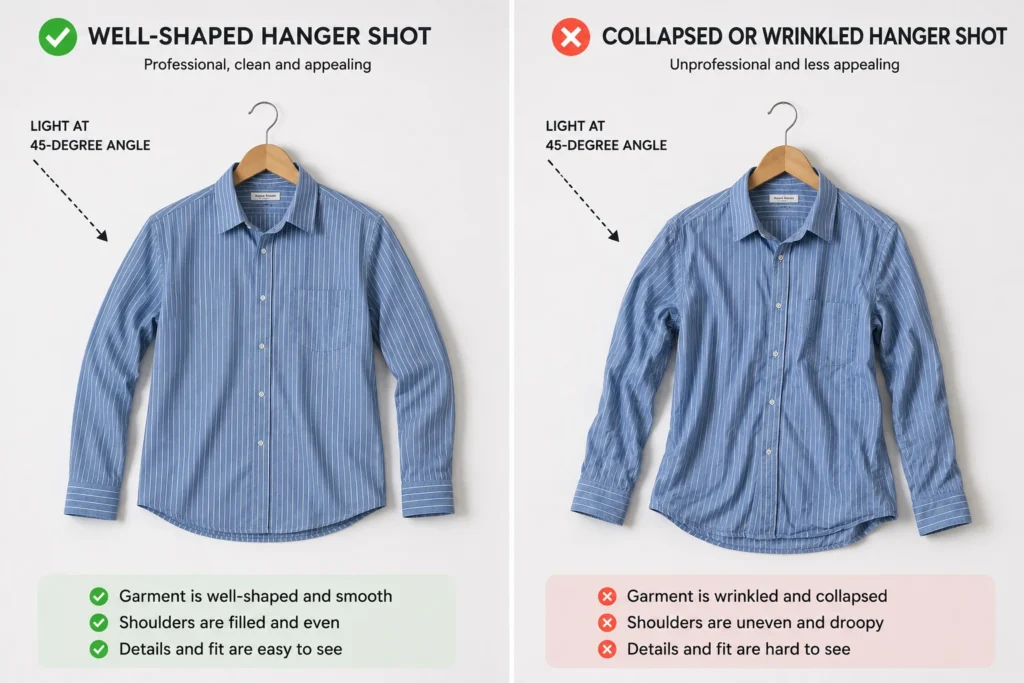
What it works best for: Tops, shirts, blouses, lightweight dresses, cardigans, and anything where how the garment hangs is more important than how it fits on a body. Works well for knitwear where the texture needs to read clearly.
Limitations: Does not show how bottoms (trousers, skirts, shorts) look when worn. Structured garments look shapeless on a hanger because the shoulder and waist shaping that a body provides is absent. Stiff or heavy fabrics can pull oddly on a hanger in ways that misrepresent the garment.
Method 3: Ghost Mannequin (Invisible Mannequin) Photography
Ghost mannequin photography – also called invisible mannequin or hollow man photography – is the technique that produces results closest to on-model photography without an actual model. The garment is photographed on a mannequin, then the mannequin is removed in editing, leaving a three-dimensional, body-shaped garment floating in the frame. Done well, it is the industry standard for clothing catalog photography.
How to set it up: Dress your mannequin fully, adjusting the garment to sit as it would on a body. Photograph it from the front, then remove the garment, photograph the interior label and back panel separately, and combine the shots in editing to fill in what the mannequin body was covering. This composite step is what most guides skip past, and it is also what makes the technique difficult: you need Photoshop or a similar editor to combine the two shots cleanly.
Lighting for ghost mannequin photography: Position the mannequin against a white background with your window light falling from 45 degrees to one side. Use two white reflectors, one on each side, to keep shadows minimal – harsh shadows on the mannequin body transfer directly into the final composite as dark areas on the garment.

What it works best for: Structured jackets, blazers, dresses, coats, and any garment whose shape depends on being filled out by a body. Also ideal for knitwear, outerwear, and any category where size and proportion affect the purchase decision.
Limitations: Requires editing skills that many small sellers do not have, and the Photoshop compositing step is time-consuming. Getting the cut-out clean around complex details like fur trim, open knit, or sheer fabric is technically demanding. Mannequin cost is also a real barrier at the start – a decent half-body mannequin runs $80 to $200.
Method 4: AI Clothing Photography
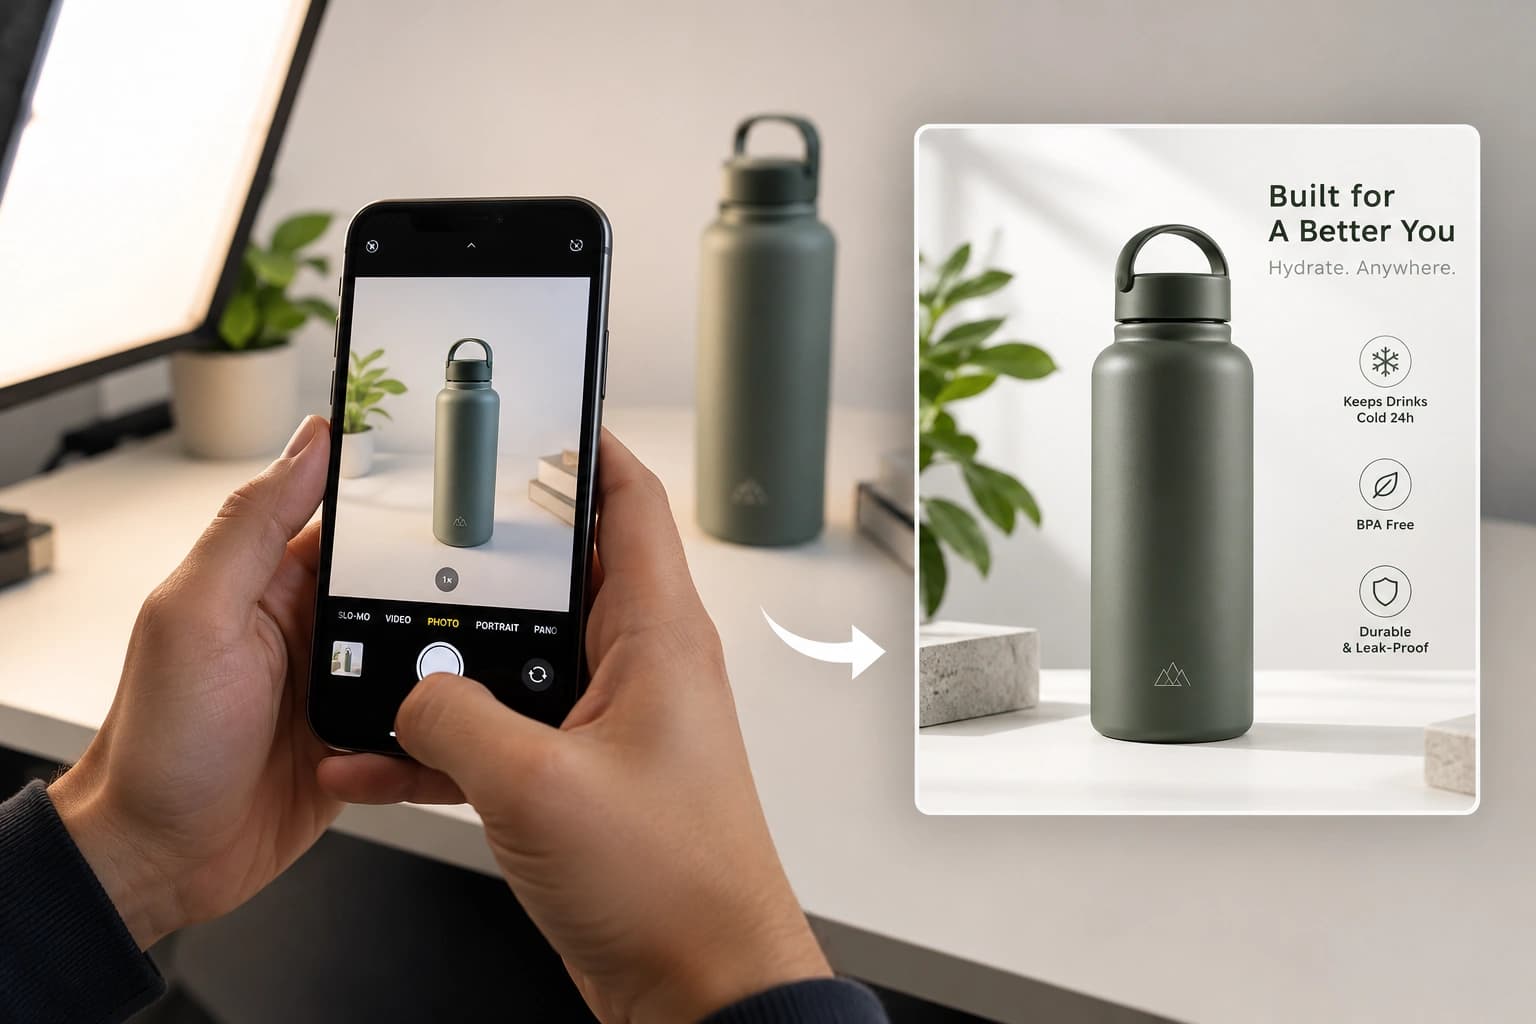
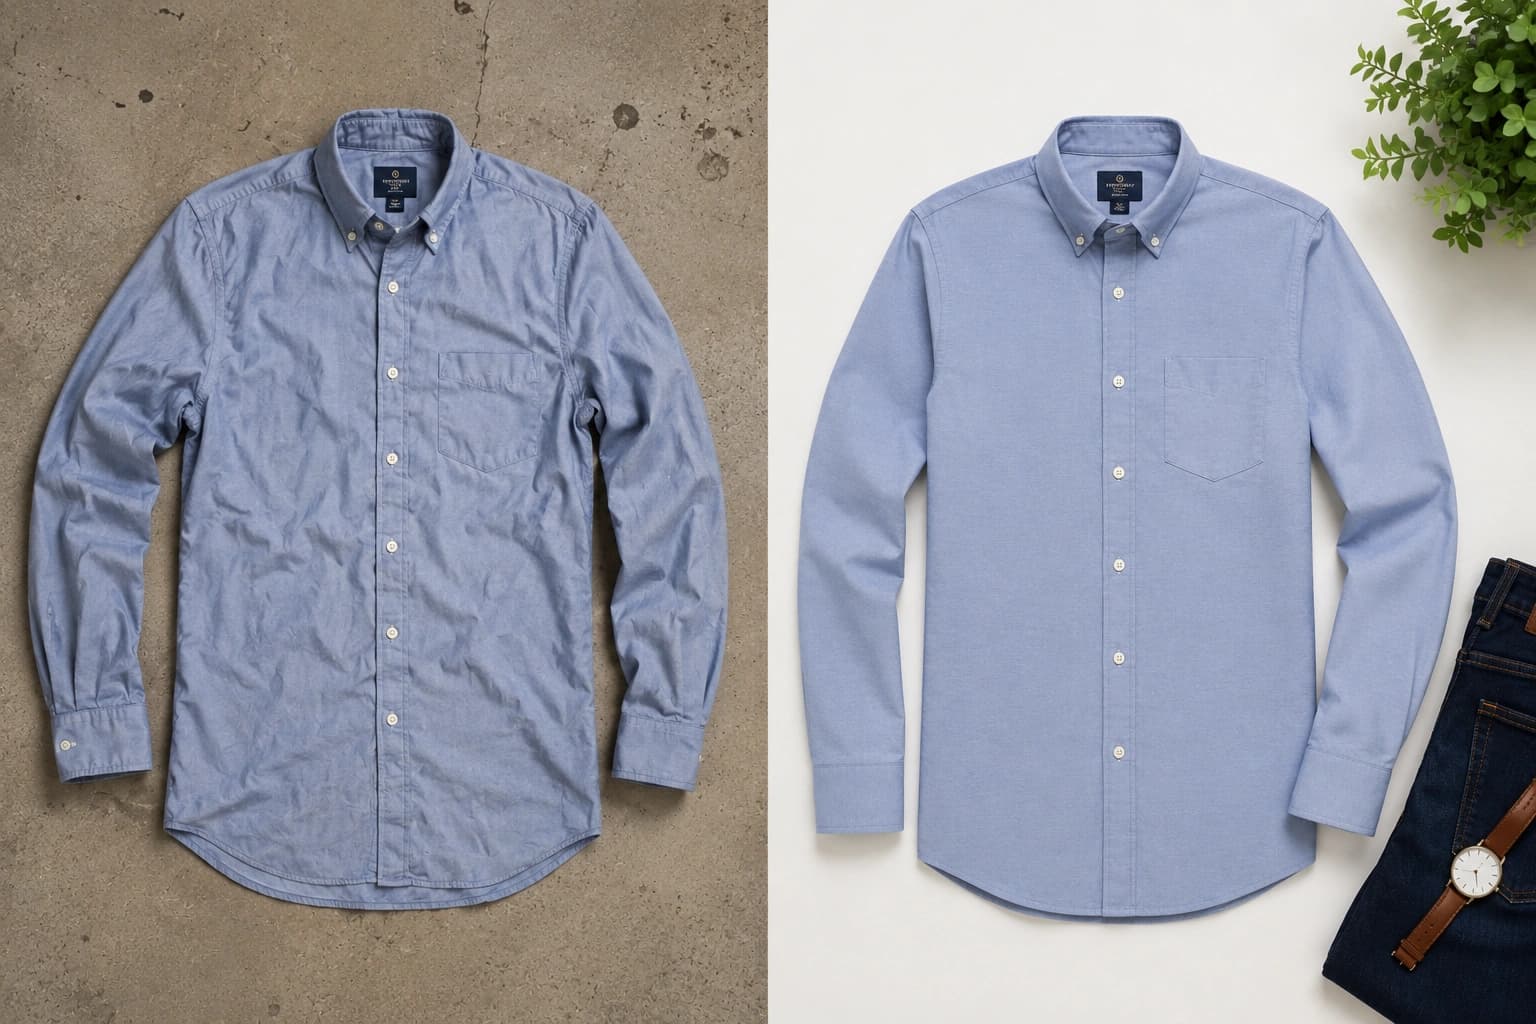
AI clothing photography is the newest method and the one that has changed most in the last two years. Rather than replacing the product photo from scratch, the best tools in this category take your existing phone photo – flat lay, hanger, or mannequin shot – and transform the background, lighting, and staging context around the garment while leaving the garment itself completely unchanged.
This distinction matters enormously for clothing sellers. Generic AI photo tools that “enhance” or “reimagine” garment photos frequently alter fabric texture, shift color (particularly for subtle tones like dusty rose, sage green, or navy), and soften or distort printed designs and embroidery detail. For a listing photo, that is not enhancement – it is a misrepresentation of the product that drives returns.
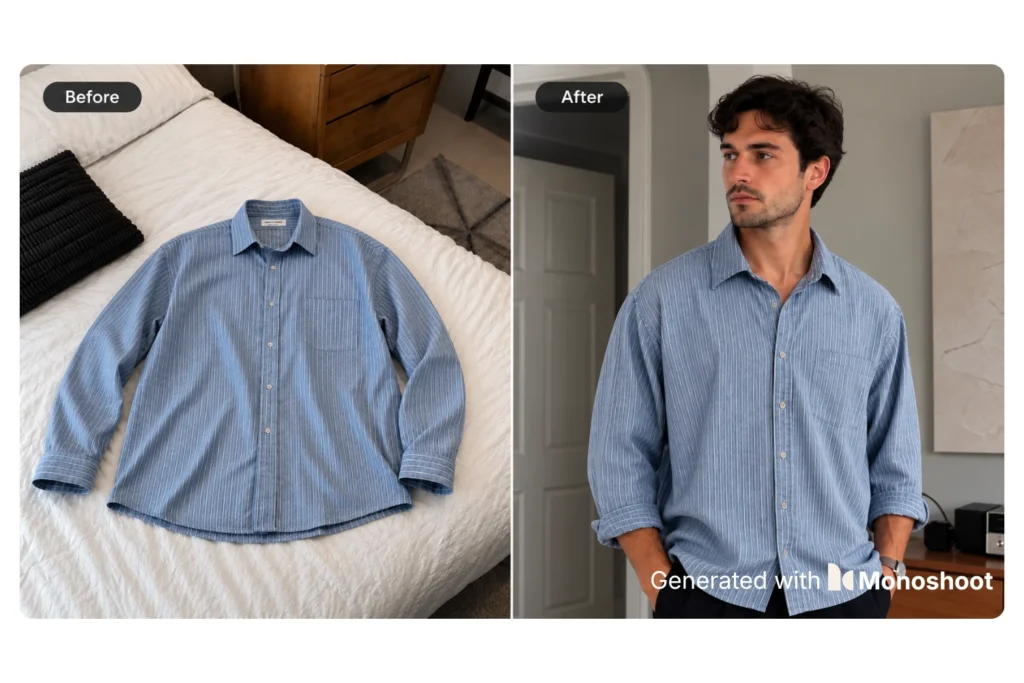
The AI approach works best when the tool is built specifically around product fidelity rather than image enhancement. Monoshoot was built for exactly this use case: you upload your phone photo of the garment (flat lay, hanger, or on a mannequin), select your background and styling environment, and receive a studio-quality result where the garment color, texture, print, and detailing are preserved exactly as they appear in the original photo.
What it works best for: Any garment type, because you are not constrained by what a flat surface or a hanger can communicate. You can place the same garment in a studio white background shot, a lifestyle context, or an editorial environment from the same source photo.
Limitations: Output quality depends on the quality of the input phone photo. A badly lit, heavily wrinkled source image produces a worse result than a clean, well-lit starting shot. The methods above – flat lay, hanger, or mannequin – are still the right starting point; AI transforms the result, not the input.
Already have a clean phone photo? Turn it into a studio image in minutes.
Upload a shot and choose the scene (flat lay, hanger, or mannequin…whatever) you want.
Try this with your garment.
Which Method Should You Use?
The right method depends on what you are selling and where your biggest friction point is.
Use flat lay if you are selling simple tops, accessories, or lifestyle items and want the fastest possible workflow with zero additional equipment. It is the right starting method for new sellers.
Use hanger photography if you are adding new products frequently and want something faster than flat lay that still communicates how the garment hangs. Good for online-only brands that need to turn around new SKUs quickly.
Use ghost mannequin if you sell structured garments where shape and fit are the primary purchase driver, you have Photoshop skills, and you are photographing enough volume to justify the mannequin cost and editing time.
Use AI photography if you want studio-quality results from your existing phone photos without the editing overhead of ghost mannequin compositing, or if you want to produce multiple background environments from one source shot. It works on top of any of the three methods above rather than replacing them.
For most Etsy and Shopify clothing sellers, the practical answer is to combine methods: flat lay or hanger for simple items, AI processing for anything that needs to look fully finished.
Phone photo → Monoshoot → product listing / social media / campaign asset.
Camera Settings and Lighting That Apply to All Four Methods
Regardless of which method you use, these settings make the biggest difference in clothing photography without a model:
- Avoid flash entirely. Flash flattens fabric texture and creates harsh, unflattering shadows in fold lines and seams.
- Use 2x optical zoom, not physical closeness. Getting too close to a garment with a phone camera introduces lens distortion that makes shoulders look narrow and hems look wide. Optical zoom keeps proportions accurate.
- Shoot in the highest resolution your phone offers. Clothing buyers zoom in on fabric texture, stitching, and print detail. Low-resolution shots fail at the moment a buyer is trying to make a decision.
- Steam every garment before shooting. This applies to all four methods without exception. Wrinkles in a listing photo are the fastest way to make a quality garment look cheap.
- Use consistent framing across your catalog. Pick one crop ratio and one distance from the garment and apply it to every product shot. Inconsistent framing is what makes a clothing catalog look like photos were taken at different times in different places, even when the backgrounds match.
The Most Common Mistake in Modelless Clothing Photography
The single most common mistake when you photograph clothes without a model is ignoring the interior. Buyers of quality clothing check collar construction, lining quality, label placement, and waistband finish. Including one interior detail shot per listing – the inside collar of a jacket, the waistband label on trousers, the lining of a coat – answers questions buyers would otherwise message about and increases purchase confidence significantly.
This is also the shot that most sellers skip, which means the sellers who include it stand out in any category they compete in.
Frequently Asked Questions
Can you sell clothes online without model photos?
Yes, and many successful brands do. Off-model photography using flat lay, hanger, ghost mannequin, or AI methods is standard practice in Etsy stores and increasingly common in Shopify catalogs. The key is consistency – a clean, consistent off-model catalog looks more professional than an inconsistent mix of model and non-model shots.
What is the easiest way to photograph clothes without a model?
Flat lay is the lowest barrier method – it requires only a flat surface, a window, a white background, and your phone. Hanger photography is similarly simple and handles more garment types. Both are good starting points for sellers who are building a catalog quickly.
What is ghost mannequin photography?
Ghost mannequin photography (also called invisible mannequin photography) involves dressing a mannequin, photographing the garment on it, then removing the mannequin in editing to leave a three-dimensional body-shaped garment floating in the frame. The result looks close to on-model photography but requires composite editing to complete.
Does flat lay photography work for all types of clothing?
Flat lay works well for garments that are naturally flat or semi-flat: t-shirts, sweatshirts, shorts, swimwear, scarves, and hats. It does not work well for structured pieces like blazers, tailored dresses, or coats, where the construction and shaping are only visible in three dimensions.
How do I make clothes look good on a hanger for photos?
Steam the garment thoroughly before hanging. Use a slim, quality hanger that matches the style of the product. Position the hanger close to a window at a 45-degree angle so light falls across the fabric and shows texture. Use a white reflector card on the shadow side. Make sure the hanger fills the garment shoulders properly so it does not collapse inward.
Can AI replace a model for clothing photography?
AI tools can produce studio-quality clothing photos from a phone shot without a model, but the results depend entirely on which tool you use and what it was built to do. Generic AI enhancement tools often alter fabric color, texture, or printed design elements. Tools built specifically for product fidelity, like Monoshoot, preserve the garment’s exact appearance while transforming the background and context around it.
Final Thoughts
Knowing how to photograph clothes without a model is one of the most practical skills a clothing seller can develop. Each of the four methods – flat lay, hanger, ghost mannequin, and AI – fills a different slot in a working catalog workflow, and most sellers end up using two or three of them depending on the garment type. Start with the method that removes the most friction from your current process, then layer in more advanced techniques as your catalog grows.
When you want studio-quality results from your phone shots without the compositing and editing time that ghost mannequin requires, Monoshoot is built to fill that gap – preserving every detail of the garment while delivering a finished, professional result.
Looking to turn flat lay and hanger shots into professional on-model catalog imagery? Explore Monoshoot’s AI fashion model generator to generate studio-grade apparel photography in seconds.