How to Take Product Photos at Home: 6 Simple Steps to Studio-Quality Results

Upload a product photo, pick a selling context and generate clean assets for jewellery, fashion or beauty in minutes.
You don’t need a $500 camera rig or a rented studio to take product photos that sell. You need the right setup, the right light, and the right process. That’s it.
This guide covers exactly how to take product photos at home – from your gear and background to lighting, composition, and editing – across jewelry, clothing, and cosmetics. Whether you’re shooting on a phone or a DSLR, these fundamentals work.
And at the end, we’ll show you the faster option most sellers are quietly switching to.
Before you shoot a single frame, it helps to understand what you’re actually aiming for.
A studio-quality product photo has four things:
Miss any one of these and the photo underperforms, regardless of how good the product is.
The good news: knowing how to take product photos at home doesn’t require expensive equipment. Here’s the honest list:
Camera: Your phone is enough. iPhone 13 and above, most flagship Android devices, even mid-range phones from 2022 onwards produce resolution that exceeds what ecommerce platforms need. A DSLR or mirrorless camera gives you more control – but it’s not a prerequisite.
Lighting: Natural light from a large window is your best free tool. If you’re shooting at night or in a poorly lit space, a basic ring light or a two-panel LED softbox kit (under $30 on Amazon) does the job well.
Background: A white poster board, a white foam board from a craft store, or a matte white sweep paper costs almost nothing and eliminates visual noise instantly. For lifestyle shots, textured surfaces like wood, marble vinyl, or concrete paper work well.
Tripod or Phone Stand: Eliminates camera shake and keeps framing consistent across a batch. A basic phone tripod costs under $15.
Reflector: A piece of white foam board on the opposite side of your light source fills in shadows. Free to improvise with what you already have.
Here’s a repeatable process you can run for every product shoot.
Start with white or off-white for your primary shots. Marketplaces like Amazon and Etsy mandate it. Keep lifestyle/contextual backgrounds for secondary images.
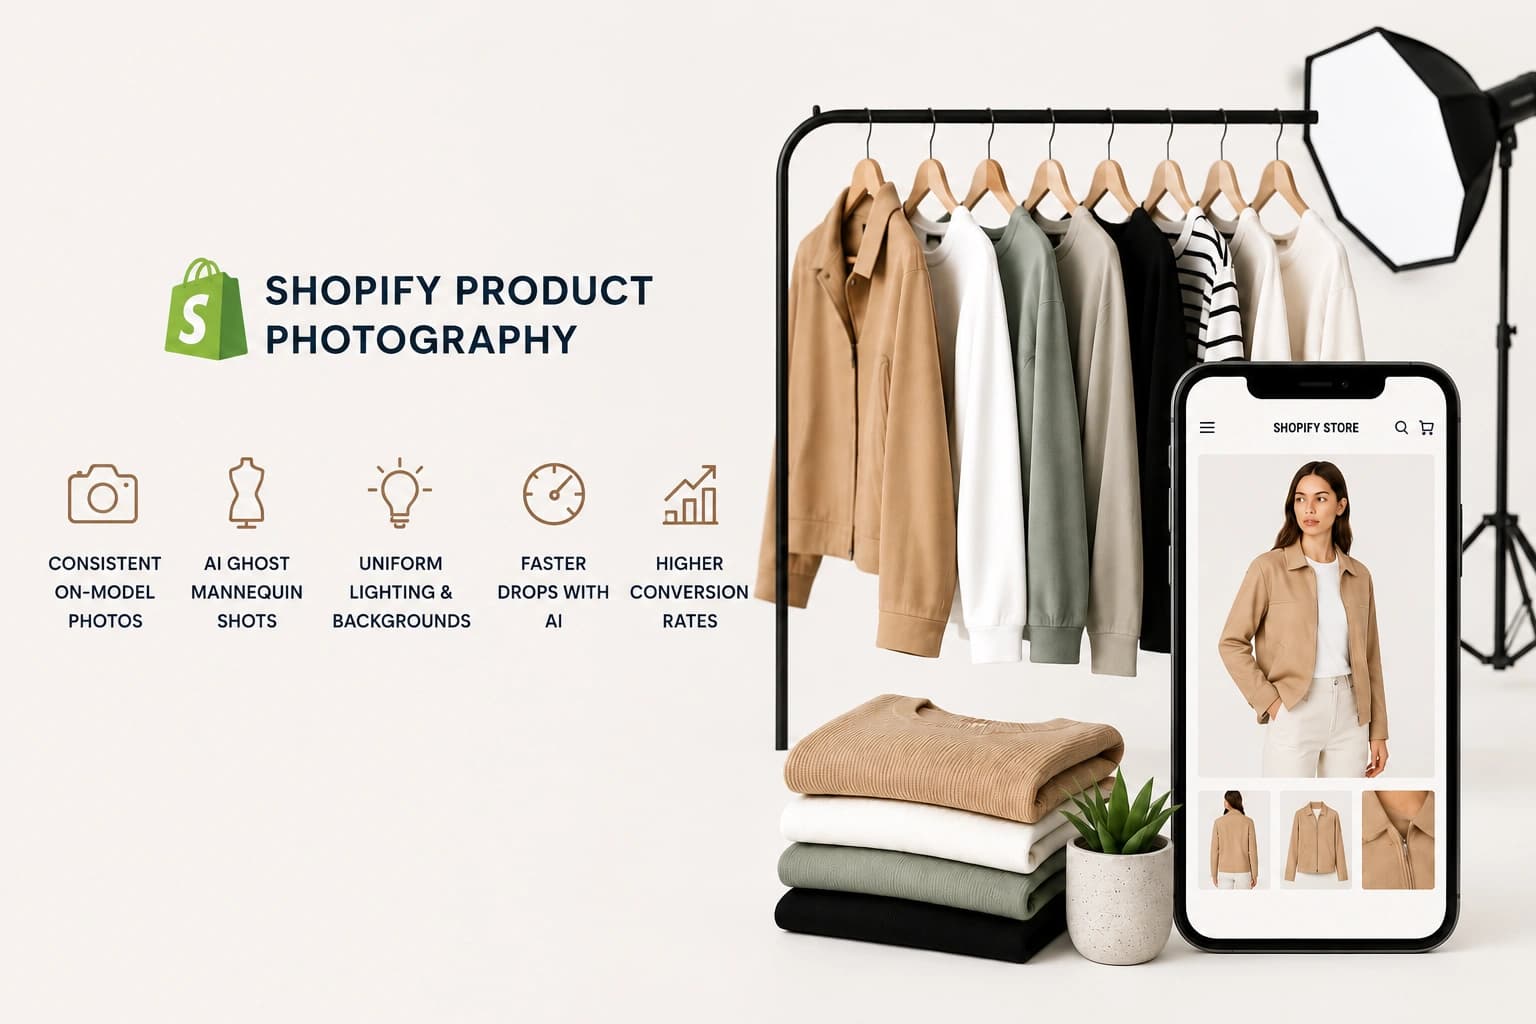
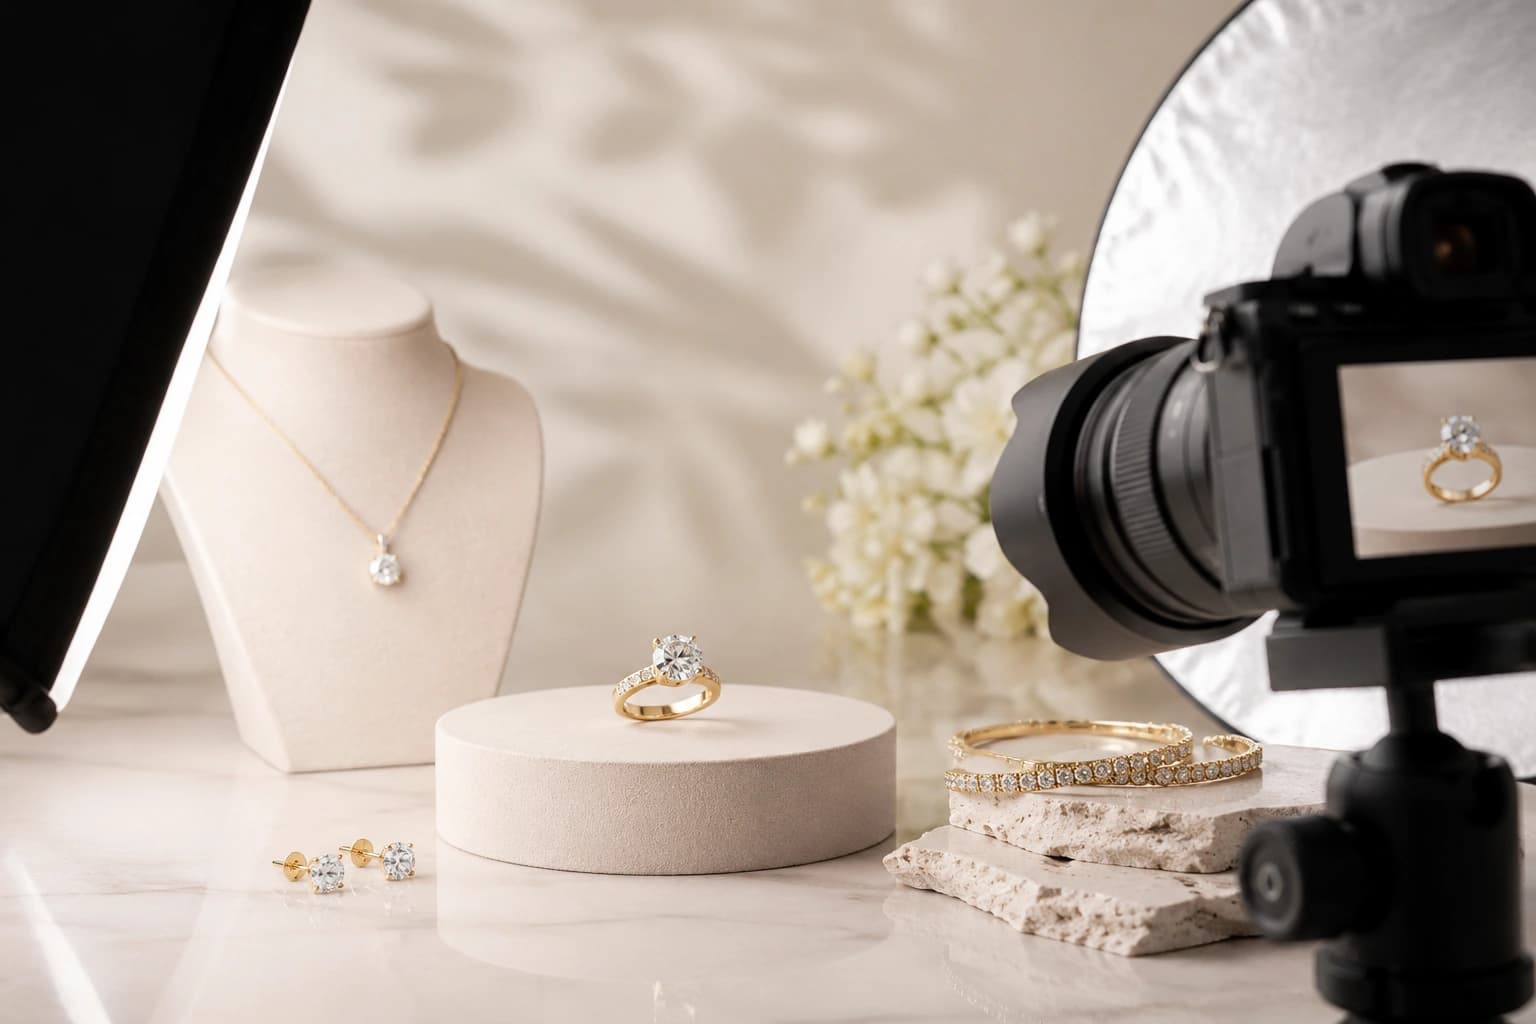
For jewelry: velvet trays, neutral stone surfaces, or minimalist flat lays work well. For clothing: a plain white wall or a seamless white sweep is the default. Add a mannequin or model for fit context. For cosmetics: clean white or pastel surfaces with one or two contextual props (a sprig of lavender, a clean towel) add brand feel without distracting.
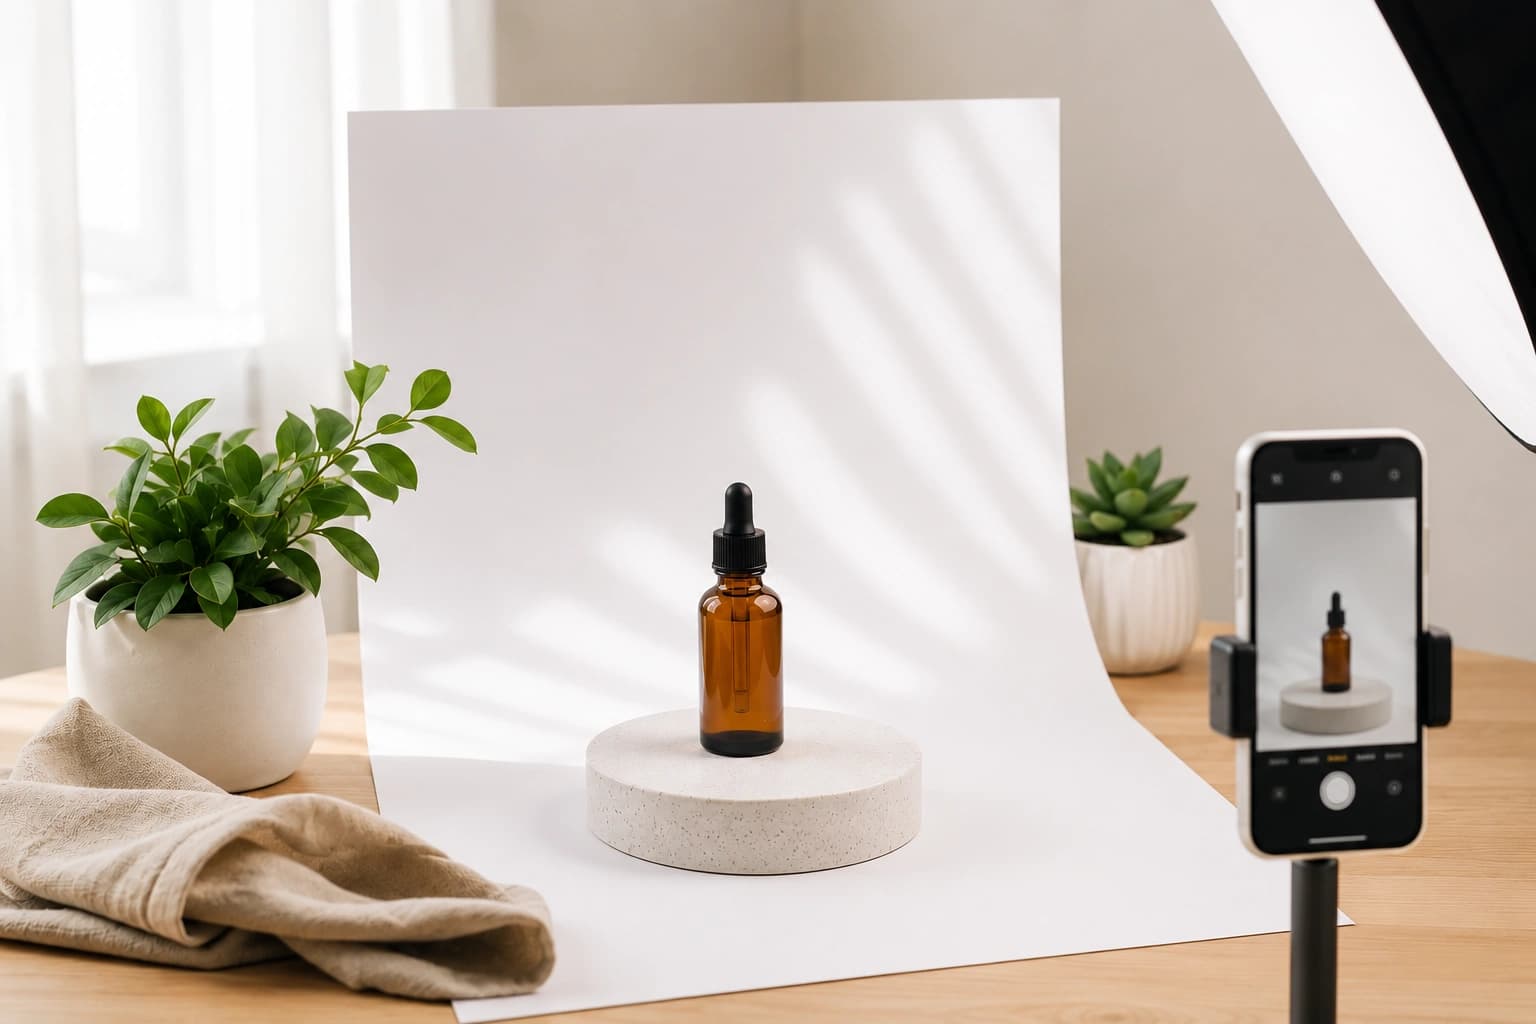
Position your product near a large window. Diffused natural light (not direct sunlight, which creates harsh shadows) is ideal.
If you’re using artificial lights: use two softboxes at 45° angles on each side, or one softbox + one reflector. Keep color temperature consistent (daylight, 5500K).
Mount your phone or camera on a tripod. Set it to the same height as – or very slightly above – the product. Eye-level shots work for most products. Top-down (flat lay) works well for jewelry, accessories, and cosmetics.
For phones: use a 2-second timer or a Bluetooth shutter remote to avoid any vibration from tapping the screen.
Fill roughly 85–90% of the frame with the product, leaving a small border. Don’t crop too tight or too loose.
For most listings, a minimum of 4–6 images covers all buyer needs.
On phones: set camera to the highest resolution, turn off digital zoom, and enable grid lines for alignment. Shoot in Portrait mode only when you need intentional background blur – not for standard product shots where full sharpness is needed.
On DSLRs: shoot RAW so you have full control in editing.
This is where most raw shots become sellable.
Basic edits you must make:
Free editing tools: Snapseed (mobile), Lightroom Mobile (free tier), Canva. Desktop: Adobe Lightroom, Photoshop, or even GIMP for more control.
Jewelry is the hardest category to photograph well. Tiny details, reflective surfaces, and intricate metalwork are all punishing with bad light.
Even when you know how to take product photos at home, these errors quietly kill conversion rates:
Here’s the reality: a full studio-quality product photo shoot – done properly – takes hours per session. Setup, lighting, multiple angle passes, editing, culling. Then repeat when you add new SKUs.
That’s why a growing number of ecommerce sellers are using AI product photography instead of building out physical setups.
Tools like Monoshoot let you photograph your product on your phone – no backdrop, no lighting rig, no setup – and transform it into a professional studio image in minutes. The product details, texture, colors, and form are preserved exactly as shot. No hallucinations, no wrong materials, no guessed designs.
The result looks like a studio shoot. The effort is a phone photo.
Where AI product photography works best:
Where traditional photography still wins:
For most ecommerce product shots – the hero images, the white-background marketplace shots, the catalog grids – AI photography is faster, more consistent, and increasingly indistinguishable from studio work.